Now that the build server has been configured you can proceed to add a FinalBuilder project file to the server.
| 1. | From the FinalBuilder Server Status page click on the 'Manage Project Files' link, located towards the bottom of the content. |
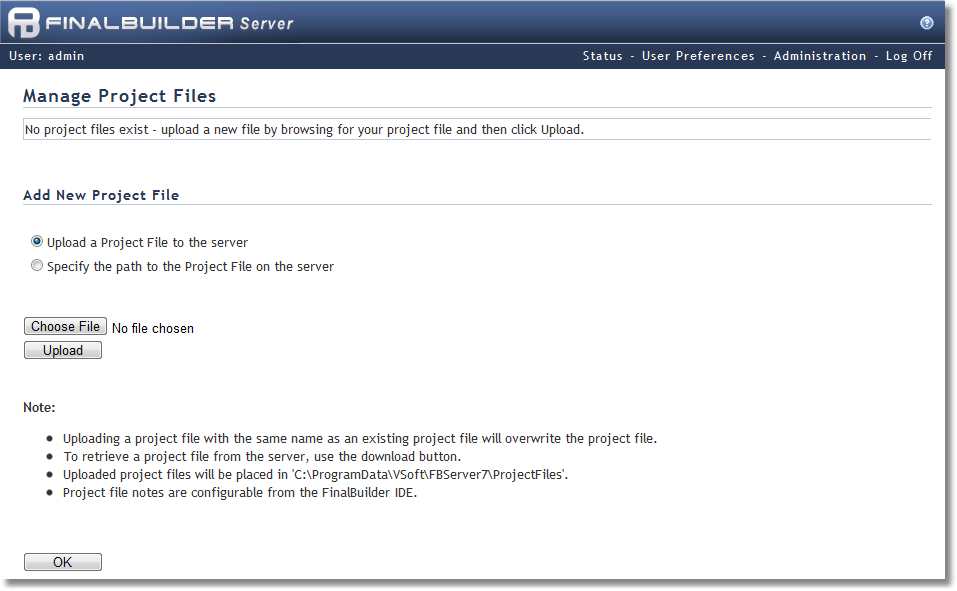
2. You can choose to either upload the project file to the build server or you can specify a path to a project which already exists on the build machine.
| • | If you choose to upload the project file, select the path to the file on you local machine by clicking the 'Browse' button and then clicking 'Upload' to upload it to the build machine. The uploaded files are stored in a sub-directory of the FinalBuilder Server data file folder. Note: When a project file is uploaded to the build server, changes made to the original project file are not reflected in the uploaded project file. It is also important that you design your build process so that all file paths will work on both the development machine and the build server. It's useful to use variables for this, and FinalBuilder Server allows you to set the variables when you configure the project, or interactively when the build is started. |
| • | If you would prefer to provide a path to a FinalBuilder project file which is already located on the build machine, click on the 'Specify the path to the Project File on the server' radio button. You can now either browse to the file location, or type it into the 'Selected Path' text field. Once you have chosen the file to use click 'Add File'. Be aware that when you are browsing for the project file, you may not be able to access the entire file system, and in the case where the project file is located in such a location, you will need to specify the path in the 'Selected Path' field. Note: The project file is not copied, so any changes made to the file will be automatically used the next time the build is started. |